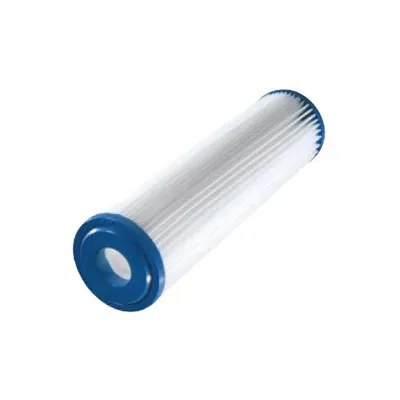
Hey there! As a supplier of UPVC Bag Filter Housing, I often get asked about how to replace the filter bags in these housings. It's an important maintenance task that can significantly impact the performance of your filtration system. So, let's dive right in and go through the process step by step.
Why Replace Filter Bags?
First off, you might be wondering why you even need to replace the filter bags. Well, over time, filter bags accumulate dirt, debris, and other contaminants from the fluid or gas passing through them. As they get clogged, the flow rate decreases, and the pressure drop across the filter increases. This not only reduces the efficiency of your filtration system but can also cause damage to other components if left unaddressed. Regularly replacing the filter bags ensures that your system operates at its best, providing clean and filtered fluid or gas.
Tools and Materials You'll Need
Before you start replacing the filter bags, gather the following tools and materials:
- New filter bags that are compatible with your UPVC Bag Filter Housing. Make sure to check the specifications of your housing to get the right size and type of filter bags.
- A pair of gloves to protect your hands from any sharp edges or contaminants.
- A clean cloth or towel to wipe down the housing and remove any dirt or debris.
- A wrench or pliers to loosen and tighten the bolts or clamps holding the housing together.
Step-by-Step Guide to Replacing Filter Bags
Step 1: Shut Down the System
The first and most important step is to shut down the system to prevent any fluid or gas from flowing through the filter housing while you're working on it. This will ensure your safety and prevent any spills or leaks. Turn off the pump or valve that controls the flow of fluid or gas to the filter housing.
Step 2: Release the Pressure
Next, you need to release the pressure inside the filter housing. This can be done by opening the pressure relief valve or venting the housing according to the manufacturer's instructions. Make sure to do this slowly to avoid any sudden releases of pressure.
Step 3: Remove the Housing Cover
Once the pressure is released, use a wrench or pliers to loosen the bolts or clamps holding the housing cover in place. Carefully remove the cover and set it aside in a clean and safe place. Be careful not to damage the gasket or O-ring that seals the cover to the housing.
Step 4: Remove the Old Filter Bags
Inside the housing, you'll see the old filter bags. Gently pull them out of the housing, being careful not to spill any of the contaminants that have accumulated inside them. Place the old filter bags in a trash bag or container for proper disposal.
Step 5: Clean the Housing
Before installing the new filter bags, take a clean cloth or towel and wipe down the inside of the housing to remove any dirt, debris, or contaminants. Pay special attention to the areas where the filter bags sit and the gasket or O-ring seals. Make sure the housing is completely clean and dry before proceeding.
Step 6: Install the New Filter Bags
Take the new filter bags and carefully insert them into the housing. Make sure they are properly seated and aligned with the openings in the housing. Some filter bags may have a specific orientation, so make sure to follow the manufacturer's instructions.
Step 7: Replace the Housing Cover
Once the new filter bags are installed, place the housing cover back on the housing and align it with the bolts or clamps. Use a wrench or pliers to tighten the bolts or clamps securely, but be careful not to over-tighten them as this can damage the housing or the gasket.
Step 8: Restore the Pressure
After the housing cover is securely in place, you can restore the pressure inside the housing. Close the pressure relief valve or vent and slowly turn on the pump or valve to allow fluid or gas to flow through the filter housing. Monitor the pressure gauge to make sure the pressure is within the normal operating range.
Step 9: Check for Leaks
Once the system is back up and running, check for any leaks around the housing cover, bolts, or connections. If you notice any leaks, turn off the system immediately and tighten the bolts or clamps as needed. If the leak persists, you may need to replace the gasket or O-ring.
Tips and Tricks
- Regular Maintenance: Make sure to replace the filter bags at regular intervals to ensure the optimal performance of your filtration system. The frequency of replacement will depend on the type of application, the flow rate, and the level of contaminants in the fluid or gas.
- Inspect the Filter Bags: Before installing the new filter bags, inspect them for any damage or defects. If you notice any tears, holes, or other issues, do not use the filter bags and contact the manufacturer for a replacement.
- Keep Spare Filter Bags on Hand: It's always a good idea to keep a few spare filter bags on hand in case you need to replace them unexpectedly. This will help minimize downtime and ensure that your filtration system continues to operate smoothly.
Conclusion
Replacing the filter bags in your UPVC Bag Filter Housing is a relatively simple process that can be done with a few basic tools and some common sense. By following the steps outlined in this guide and taking the necessary precautions, you can ensure the optimal performance of your filtration system and extend the life of your filter bags.
If you're in the market for a high-quality UPVC Bag Filter Housing or need more information about our products, feel free to check out our Industrial Bag Filter Housing, Stainless Cartridge Filter Housing, or Size 2 Bag Filter Housing. We're here to help you find the right filtration solution for your needs. Contact us today to start a procurement discussion and take your filtration system to the next level!


References
- Manufacturer's instructions for your UPVC Bag Filter Housing.
- Industry best practices for filter bag replacement.